
Top Rated Products
-
 We will manage / design your wix website
Original price was: $180.00.$160.00Current price is: $160.00.
We will manage / design your wix website
Original price was: $180.00.$160.00Current price is: $160.00. -
 Om Contact Form Pro
Original price was: $260.00.$200.00Current price is: $200.00.
Om Contact Form Pro
Original price was: $260.00.$200.00Current price is: $200.00. -
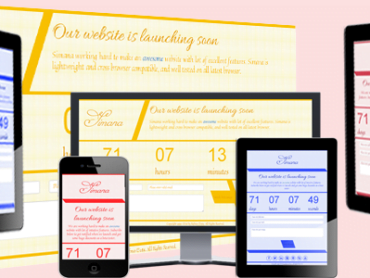 Simana Royal Coming Soon Template
Original price was: $25.00.$15.00Current price is: $15.00.
Simana Royal Coming Soon Template
Original price was: $25.00.$15.00Current price is: $15.00. -
 NEW WAY
Original price was: $30.00.$28.00Current price is: $28.00.
NEW WAY
Original price was: $30.00.$28.00Current price is: $28.00. -
 Popup Shraddha Pro
Original price was: $24.00.$16.00Current price is: $16.00.
Popup Shraddha Pro
Original price was: $24.00.$16.00Current price is: $16.00.